Understanding Layered Animation Tutorial |
||||||||||||
Introduction On the workflow side of production for both films and games, layered
animation has allowed for a renewed the trust of artists in the use
of motion capture as a viable tool. Download Feather_Fall.fbx file To do this tutorial you want to be somewhat familiar with the navigation of Motion Builder. Let’s begin by looking at a comparison of the animation that we are going to start with and the one that we want to end up with after we layer the enhancements.
|
||||||||||||
Getting Started Download the file Feather_Fall.fbx by following the link
at the end of this page.
Motion Builder gives you the possibility to have different animations for the same object inside the same file through the use of takes. Make sure that you have set the Playback Rate to 24fps and the loop button is turned on, if you play the animation you will be able to see how the project is going to look when you finish the tutorial Base Layer Go to the take named FeatherStart by clicking on current take in the Transports Controls window where it says FeatherFinish (fig 2). If you play the animation you will see the feather move on a diagonal line from the top right side of the camera onto the left side of the grid, there is no rocking motion or rotation as it falls.
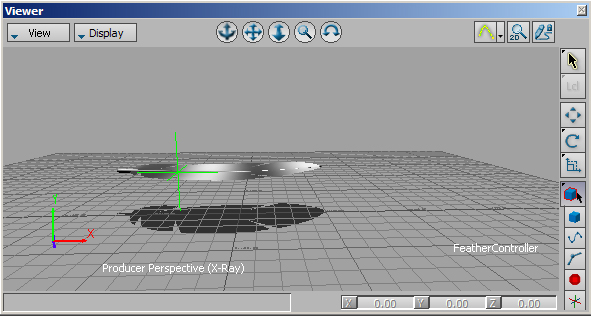
Click anywhere on the viewer to make it active and press ctrl+a to cycle through the display modes until you see the Null node named Feather Controller and select it (fig 3).
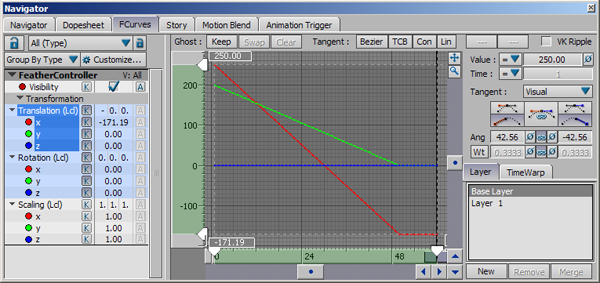
On the Navigator Window select the FCurves tab (fig4). Click on translation to see the animation curves that have been set on the Base Layer. Even though the animation of the feather was manually created a key has been placed in every frame to mimic a motion capture situation.
|
||||||||||||
Back |
||||||||||||
 |
||||||||||||